TypeScript + node.js + github.api, 实现github快速找到目标用户
一、TypeScript简介
- 定义
(1)Typescript = JavaScript + type + ( some other stuff )
(2)Typescript需要先被编译成Javascript,而后才能使用
- demo
安装typescript:- npm install typescript –g
- tsc index.ts
index.ts:
var fn = () => ‘response’
command line:
tsc init
修改tsconfig.json的outDir和rootDir,并增添out目录与src目录
修改package.json的scripts为”start”: “tsc && node out/index.js”
运行npm start
结果如下:
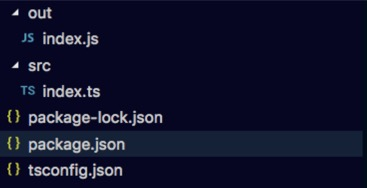
此时,src里的index.ts已经被编译至index.js中
index.js:
var fn = function () { return ‘response’; }
二、项目实现
需求
在node环境下,使用ts语言,借用gituhub的api实现对用户的关键信息查询功能目录
安装库
(1)request库
npm i @types/request –save-dev
npm i request –save
(2)lodash库(用于排序)
npm i @types/lodash –save-dev
npm install lodash –save-dev内容
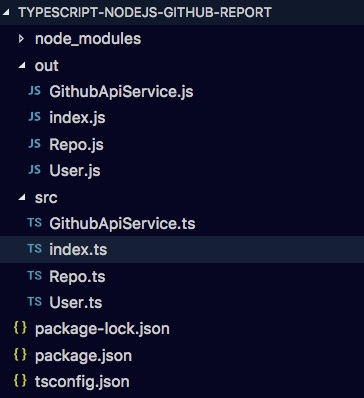
index.ts1
2
3
4
5
6
7
8
9
10
11
12
13
14
15
16
17
18
19
20
21
22import { GithubApiService } from './GithubApiService'
import { User } from './User'
import { Repo } from './Repo';
import * as ld from 'lodash';
// node.js内置功能,用于获取第三个参数内容
console.log(process.argv[2])
let svc: GithubApiService = new GithubApiService();
if (process.argv.length < 3) {
console.log("请输入用户名");
} else {
svc.getUserInfo("bbcfive", (user: User) => {
svc.getRepos(user.login, (repos: Repo[]) => {
// 按照fork的数量由小到大排列 ps:返回值 * -1 代表由大到小排列
let sortedRepos = ld.sortBy(repos, [(repo: Repo) => repo.forks_count]);
user.repos = sortedRepos;
console.log(user);
})
});
}
GithubApiService.ts
1 | |
Repo.ts
1 | |
User.ts
1 | |
- 运行
因为在index.ts里已经使用nodeJs自带的api,process.argv对npm输入命令做了判断,所以只需要在命令行输入npm start bbcfive // “bbcfive”是我的github用户名
终端打印结果:
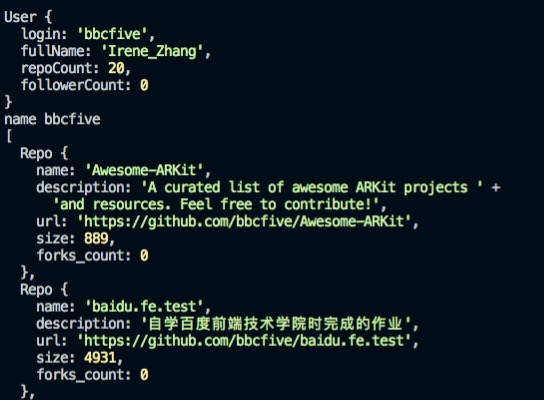
可以清晰的看到此用户的github关键信息。
三、其他延展功能
给定一定量的github用户名列表,可以通过此方法循环获取每个用户的关键信息,并作筛选,来获得目标范围用户。
适用于以下场景:
hr招人
找一些很赞的项目
社交(毕竟是全球最大的同性交友网站~~)